Add your first vehicle
Everything else in DealerVLO starts from a car in your inventory. The fastest way in is a VIN — paste it and the year, make, model, trim, and specs decode themselves, so adding a vehicle takes about a minute. Here's exactly what to do, screen by screen.
Paste the VIN
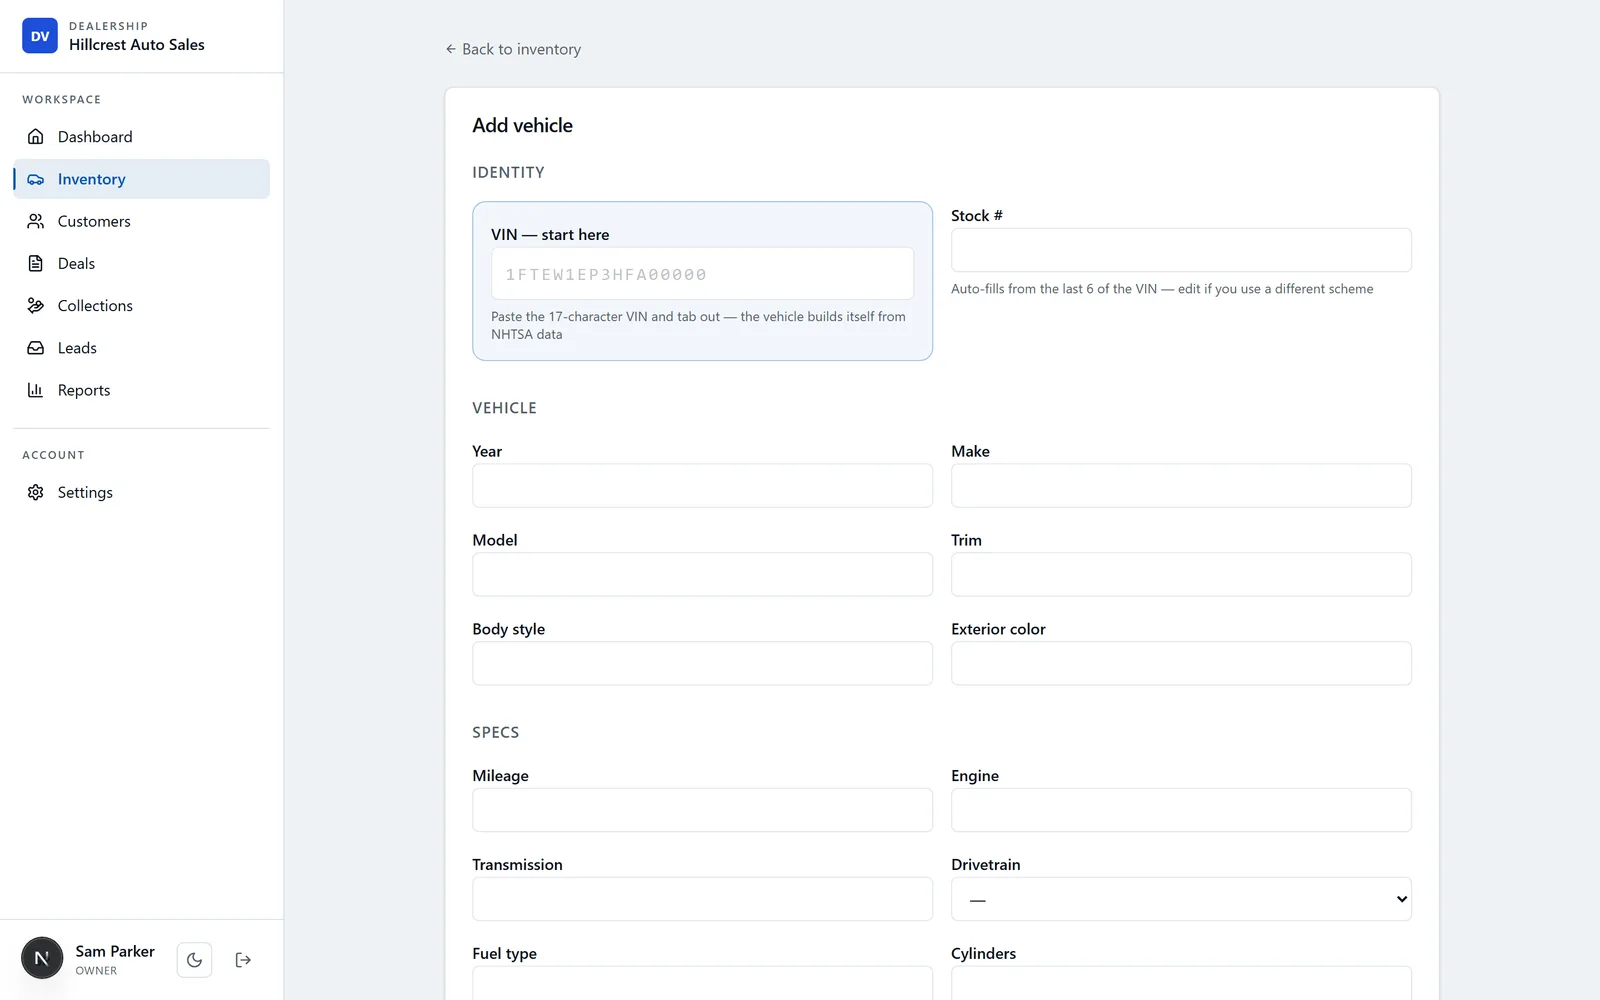
In the highlighted “VIN — start here” box at the top of the form, paste the vehicle's 17-character VIN and tab out (click anywhere else). You'll find the VIN on the driver's-side dash, the door jamb, or the title. This is the only thing you have to type to get started.
Let it decode itself
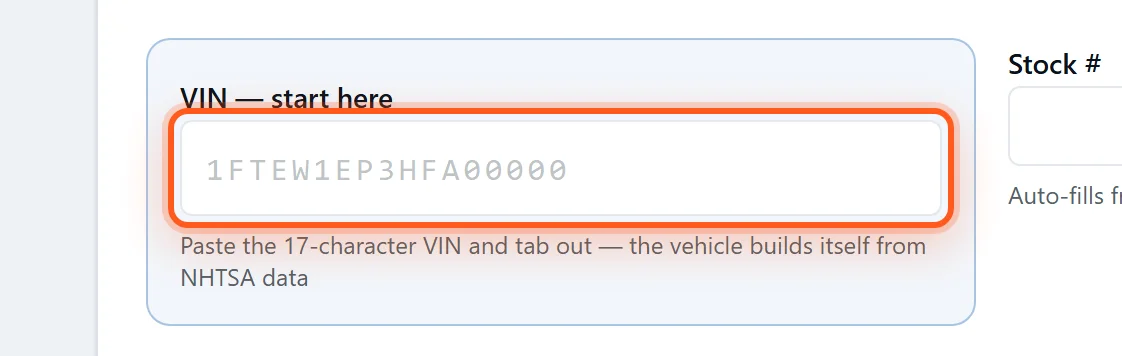
The moment you tab out, DealerVLO looks the VIN up in the federal NHTSA database and fills the vehicle details for you — year, make, model, trim, body style, engine, cylinders, fuel type, and more. A green “Decoded from NHTSA” note confirms it worked.
- Everything is editable — if a spec is blank or you use different wording, just type over it.
- No VIN handy (a wholesale unit or a project car)? You can type the year, make, and model in by hand instead.
Set the stock number and price
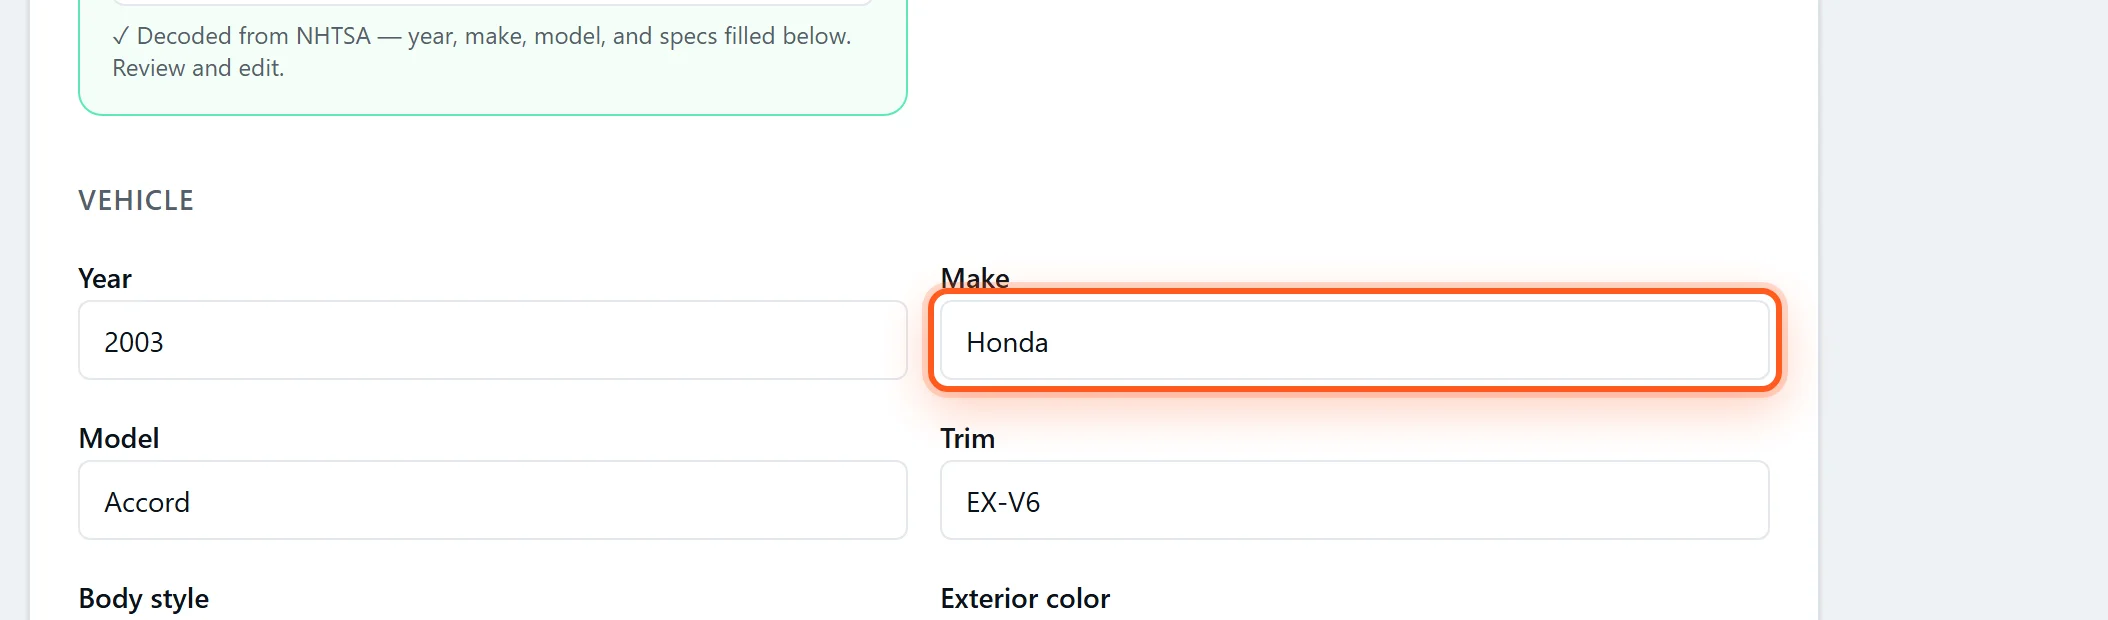
Give the car a stock number (DealerVLO pre-fills one from the last six of the VIN — change it if you use your own scheme) and add your asking price and mileage. These are what show on your website and flow into a deal later.
Add photos and save
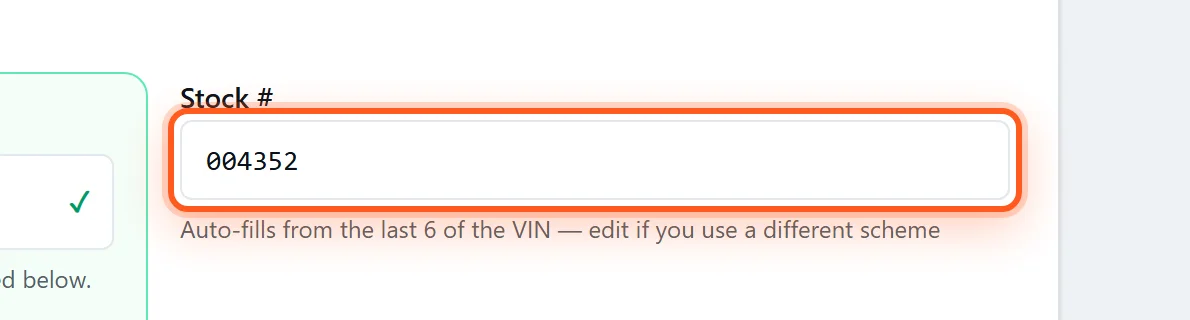
Scroll down to add photos — drag-and-drop from your computer, or upload straight from your phone's camera — then click Save. The car is now in your inventory, ready to put on a deal and to publish to your website.

Frequently asked questions
How do I add a vehicle in DealerVLO?+
Open Inventory, click Add vehicle, and paste the 17-character VIN in the 'VIN — start here' box. DealerVLO decodes the year, make, model, trim, body style, and engine automatically from the NHTSA database. Add your stock number, price, and mileage, upload a few photos, and click Save.
What if the VIN doesn't decode completely?+
DealerVLO fills in everything the VIN provides from the NHTSA database, and a green confirmation shows what came back. Any field it can't determine is left blank for you to type in before saving — nothing blocks you from adding the car.
Can I add a vehicle without a VIN?+
Yes. The VIN is the fastest path, but every field is editable, so you can type the year, make, model, and specs by hand for a wholesale unit, a project car, or anything without a readable VIN.
Can I import my existing inventory instead of adding cars one by one?+
Yes. Inventory → Add many cars at once brings in up to 1,000 cars per file (cost included if your export has it), and Settings → Import data brings in your customer list, so you don't have to re-key your cars or customers when you switch to DealerVLO. Photos and past deals don't import.